~11 min read
RCE on the HP M479fdw printer

!> This blogpost is the first part in a two-part series looking back at our accomplishments and journey to Pwn2Own 2022 in Toronto. The second part details our journey with exploiting the Netgear RAX30 router. Stay tuned for our coverage of this years edition of Pwn2Own in Cork, Ireland where we are trying to spawn us some shells and Master of Pwn points again!
TL;DR
Two years ago, Neodyme participated in the Pwn2Own Toronto 2022 competition. We targeted the “SOHO Smashup” (as in Small Office/Home Office) chain featuring a Netgear RAX30 router and pivoting to an HP M479fdw printer to successfully gain remote code execution on both devices. This post covers the technical aspects of our first printer exploitation journey, from dumping the NAND to reliable code execution via the printer discovery service.
Motivation
In the renowned Pwn2Own competitions organized by Trend Micro, top hackers from around the globe gather to showcase their ability to exploit some of the most challenging targets. Participants have just five minutes to exploit a device or service under its standard configuration. The Toronto 2022 edition, formerly known as Mobile Pwn2Own, focused on routers, printers, mobile phones, and smart home speakers, and is often considered one of the most approachable Pwn2Own events. One of the standout categories was hacking a router via WAN and another device within the same network, classified as a “SOHO” (Small Office/Home Office) entry. The first successful exploit earned an impressive payout of $100,000, which became our goal.
As routers and printers are frequently vulnerable to relatively simple bugs, often lacking robust defenses against memory corruption exploits, we would like to use these to guide you through our zero-day exploit discovery in this two-part blog series. Printers, in particular, are an appealing target for researchers and attackers alike: they seldom receive updates and can serve as a persistent foothold within a network. Moreover, having access to all printed and scanned documents adds a lucrative bonus for any potential hacker.
In previous Mobile Pwn2Own events, three major printer brands were included: Lexmark, Canon, and HP. Since there was little to no public research available on HP printers at the time, we saw an opportunity for novel research and perhaps an easier path to discovering vulnerabilities, which made this challenge particularly enticing for us.
Dumping the firmware
Unlike most router firmware updates, HP printer firmware updates are encrypted — likely as a response to hackers modifying the firmware to enable the use of off-brand ink cartridges, a practice HP certainly doesn’t like. But we needed a decrypted firmware image or the decryption keys to enumerate the attack surface and reverse engineer the running services.
After carefully disassembling our only printer model, we failed to find the flash chip that stored the (hopefully) unencrypted firmware. We assumed it would be a NAND flash, but none of the components looked like one. The fact that none of the components could be mapped to standard chips didn’t help either. We refrained from disassembling all of the printer hardware, as we still needed it to work to test our exploits.
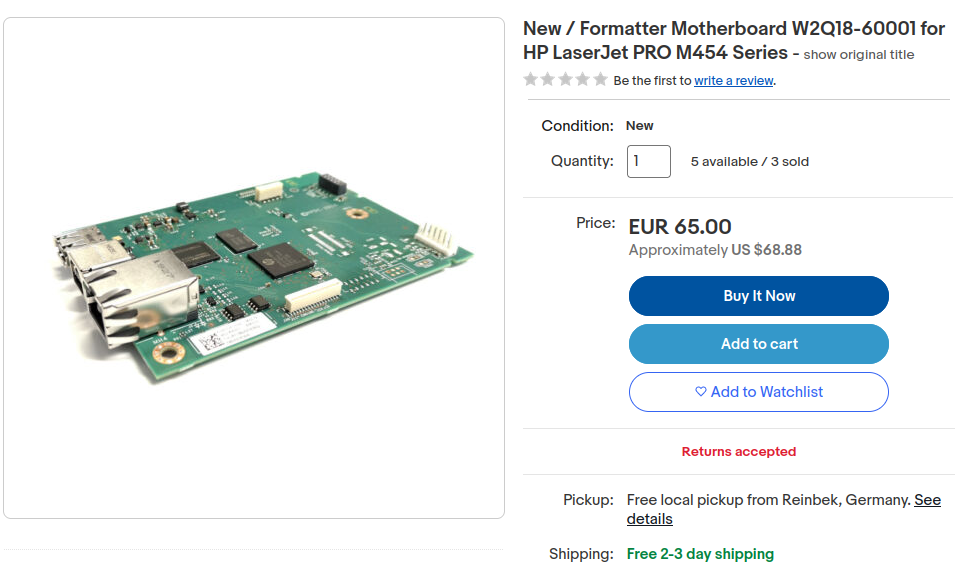
A team member eventually bought an old replacement mainboard from eBay for a similar HP printer model.

Printer Mainboard on eBay
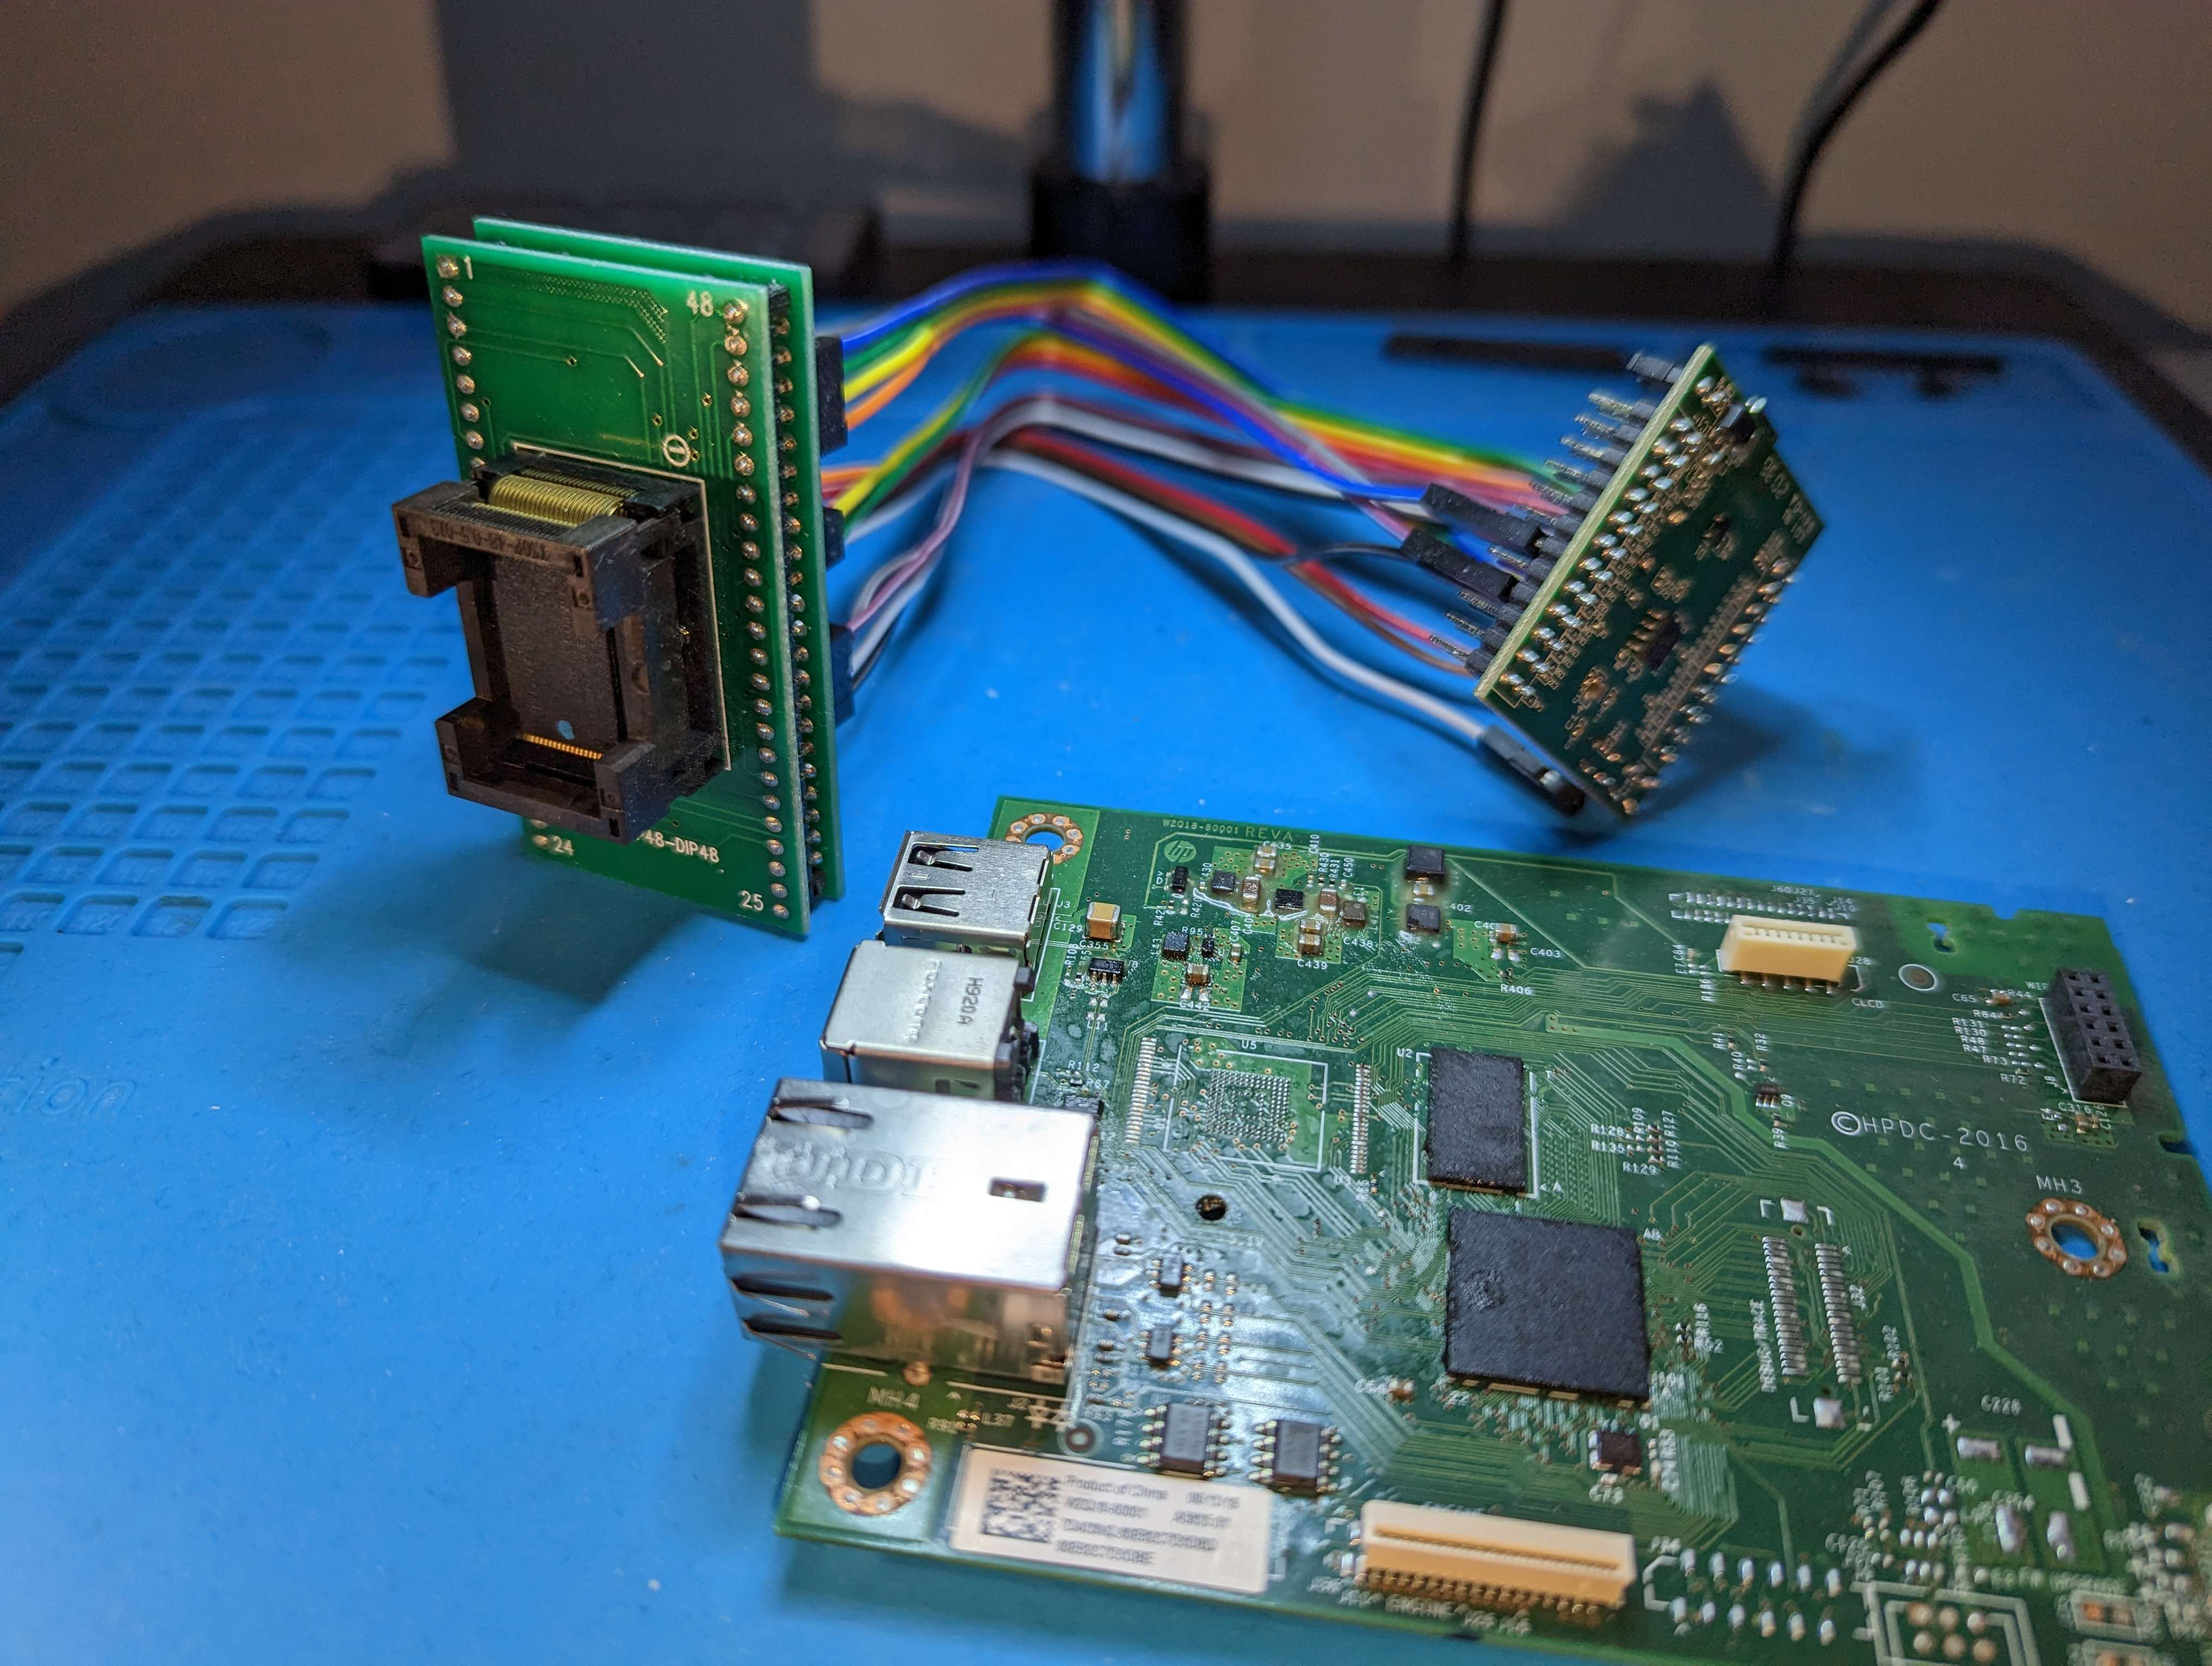
He then quickly identified the NAND chip hidden behind several other hardware components in our model. Luckily, he already had a NAND dumper available that worked for this NAND layout. Next, we desoldered the chip from the replacement board and generated multiple dumps, each containing minor differences in corrupted bytes due to our makeshift dumping setup. We then merged all the dumps to get a somewhat good-looking HP firmware image. The firmware version was around two years older than our targeted version, and some of the services running on our original printer were missing entirely. But at least we had a start!

Mainboard taken apart when searching for the NAND chip
Firmware decryption
Highly motivated, we started to reverse engineer the firmware update process. We knew that the printer model bought from eBay could be updated to the most recent firmware, so the keys had to be hidden somewhere.
The firmware update process proved to be surprisingly complex. Multiple components communicated through IPC channels, all orchestrated by a central service component. Attempts to emulate this central service failed due to the low-level hardware interactions, which we couldn’t replicate in the emulated environment, causing the service to crash at startup.
As a last resort, we turned to static code analysis, hoping the decryption routine wouldn’t be overly complicated. By tracing the IPC channels, we eventually uncovered an AES encryption routine that relied on a dynamically generated string, composed of three sub-strings:
- A static XOR-”encrypted” key
- The HP internal firmware project name
- The checksum of the decompressed firmware blob
The resulting string was then hashed and used as the AES key to decrypt the firmware image. Success! We now had a decryption tool for every HP firmware available.

Firmware decryption is successfully working now!
We do not plan to release the firmware decryption tool. However, with the details provided and a bit of persistence, you should be able to uncover the decryption routine on your own.
Bug
Luckily, a printer has quite a few services exposed and running. They allow printing from different devices with various protocols. We looked into several protocols and finally stumbled upon the Web Services Dynamic Discovery (WS-Discovery) protocol, used to discover services in the local network. In the HP printer firmware, the msws binary is used to handle Windows Printer Discovery Requests as specified in the spec from Microsoft, Canon and Intel. The msws binary listens for multicast requests on UDP address 239.255.255.250 on port 3702 and can thus be reached by devices in the local network.
One of the messages exchanged during service discovery is the Probe request. The spec explains the Probe message as follows:
A Client MAY send a Probe to find Target Services of a given Type and/or in a given Scope or to find Target Services regardless of their Types or Scopes.
A Probe message can contain multiple Types the client wants to probe for. If multiple types are present in a Probe message, the types are separated by a space character. A probe message may look like this:
<?xml version="1.0"?><soap:Envelope xmlns:wsa="http://schemas.xmlsoap.org/ws/2004/08/addressing" xmlns:wsd="http://schemas.xmlsoap.org/ws/2005/04/discovery" xmlns:soap="http://www.w3.org/2003/05/soap-envelope" xmlns:wsdp="http://schemas.xmlsoap.org/ws/2006/02/devprof"> <soap:Header> <wsa:Action>http://schemas.xmlsoap.org/ws/2005/04/discovery/Probe</wsa:Action> <wsa:MessageID>urn:uuid:64198469-7ad9-3d68-cdd4-b86dac4c595d</wsa:MessageID> <wsa:To>urn:schemas-xmlsoap-org:ws:2005:04:discovery</wsa:To> </soap:Header> <soap:Body> <wsd:Probe> <wsd:Types>wsdp:sometype anothertype</wsd:Types> </wsd:Probe> </soap:Body></soap:Envelope>If a Probe message contains multiple Types, the types are split by a space character. Let’s analyze the parsing code in the — spoiler! — vulnerable binary msws:
int __fastcall probe_overflow(int a1) {// char s[128]; // [sp+4h] [bp-9Ch] BYREF// int v8[7]; // [sp+84h] [bp-1Ch] BYREF
// [...]// ... Parse XML and search for "Types" field// ... char* types_string = attacker-controlled "Types" field
if ( strchr(types_string, ' ') ) // [1]{  while ( 1 )  {    types_string_nextspace = strchr(types_string, ' '); // [2]    if ( !types_string_nextspace )    {      v5 = 1;      goto bailout_types_parsing;    }    memset(s, 0, sizeof(s));    strncpy(s, types_string, types_string_nextspace - types_string); // [3]
    types_string = types_string_nextspace + 1;
After parsing the XML data, the types_string contains the content of the <wsd:Types> element. In [1], the strchr method checks if this string contains a space character and thus must be parsed differently. In a loop, the string following the next space character types_string_nextspace is stored in [2]. Hence, the memory between types_string and types_string_nextspace is the next Type that needs processing. That value is copied to the stack in [3] using the strncpy function, so everything is fine — right? It would be if the programmer limited the maximum size n for the strncpy to 128, the length of the temporary buffer on the stack. However, a user-controlled length is used instead, allowing us to overflow the stack if we provide a type that’s sufficiently long!
The following type XML is enough to overflow the stack and crash the msws service, which then crashes the whole printer and issues a restart:
<wsd:Types>wsdp:AAAAAAAAAAAAAAAAAAAAAAAAAAAAAAAAAAAAAAAAAAAAAAAAAAAAAAAAAAAAAAAAAAAAAAAAAAAAAAAAAAAAAAAAAAAAAAAAAAAAAAAAAAAAAAAAAAAAAAAAAAAAAAAAAAAAAAAAAAAAAAAAAAAAAAAAAAAAAAAAAAAAAAAAAAAAAAAAAAAAAAAAAAAAAAAA B</wsd:Types>To exploit this issue, we are restrained by three factors: null bytes, the maximum length of the UDP, and the weirdness of the XML parser. Null bytes are not an issue, as we’ll see later. The maximum length of the UDP package is around 0x4000 bytes, so there is plenty of size for ROP. The XML parser indeed behaved a bit weirdly if two consecutive bytes > 0x7f were passed in the string but we can live with that. Overall we found a nice and exploitable bug.
Exploit
The protections for the msws binary are, as expected, quite lax:
Arch: arm-32-littleRELRO: No RELROStack: No canary foundNX: NX enabledPIE: No PIE (0x10000)As there are no stack canaries, we can smash the stack and get away with it. Furthermore, we know it is possible to overwrite the .got and that the binary is always mapped to 0x00010000.
As any null byte terminates our stack overflow, we can’t ROP in the non-PIE msws binary. The ROP chain would contain 0x00 bytes for addresses and break during the strncpy.
For whatever reason, the libc.6.so stays at the persistent base address of 0x41030000, although this binary is compiled as PIE and full ASLR (randomize_va_space=2) is active on the system. That fact is convenient, as we can simply ROP using gadgets in the libc. We can’t use two consecutive characters > 0x7f, as those get parsed to unicode and end up as different characters than intended, including nullbytes, breaking the ROP again. Luckily enough, there are enough gadgets with addresses without two consecutive bytes > 0x7f.
Debugging access to the system also revealed that the stack is executable, contrary to what is stated in the binary protection table. Happy about the executable stack, we wrote an ASCII shellcode encoder that wrote arbitrary shellcode to the stack and jumped there. It worked perfectly in our debugging setup, but failed without the debugger attached… We had fallen straight into the ARM instruction/data caching trap! This feature is common on ARM and prevents shellcode execution until the instruction/data caches have been flushed. Although there are ways to flush the caches by a special syscall or a simple sleep, we didn’t persuade this route any further.
Ultimately, we managed to write a two-stage ROP chain that worked out reliably. We didn’t need any caching, as we allocated a new RWX page:
Stage 1 ROP:
- Create a new UDP socket structure and bind the socket to port 0x1337
- Call the
recvmsgfunction on the socket and write the result into the.datasection of thelibc.6.so - Pivot the stack to this
.datasection, enabling full ROP, which can include null-bytes
Stage 2 ROP:
- Allocate RWX memory at
0x1337000 - Copy excess data from stage 1 ROP in
.dataoflibc.6.soto0x13370000 - Jump to
0x13370000and execute shellcode without any caching issues
The two-stage ROP reliably leaves us with up to 255 bytes of shellcode, which is enough to create a root bind shell. The msws process does not crash as long as the bind shell runs and the printer is kept alive.
It remains a mystery why the libc did not move in memory and why the stack was executable. If anyone has insights on this, please give us a hint in the right direction! But in the end, we did not care and were happy with the easy exploitation.
Winning at Pwn2Own
Having little to no known issues influencing the exploit’s reliability, we were confident that we could land the exploit on stage. There was a slight chance that the hardware used in the US region randomly now supported ASLR, but that was a risk we were willing to take.
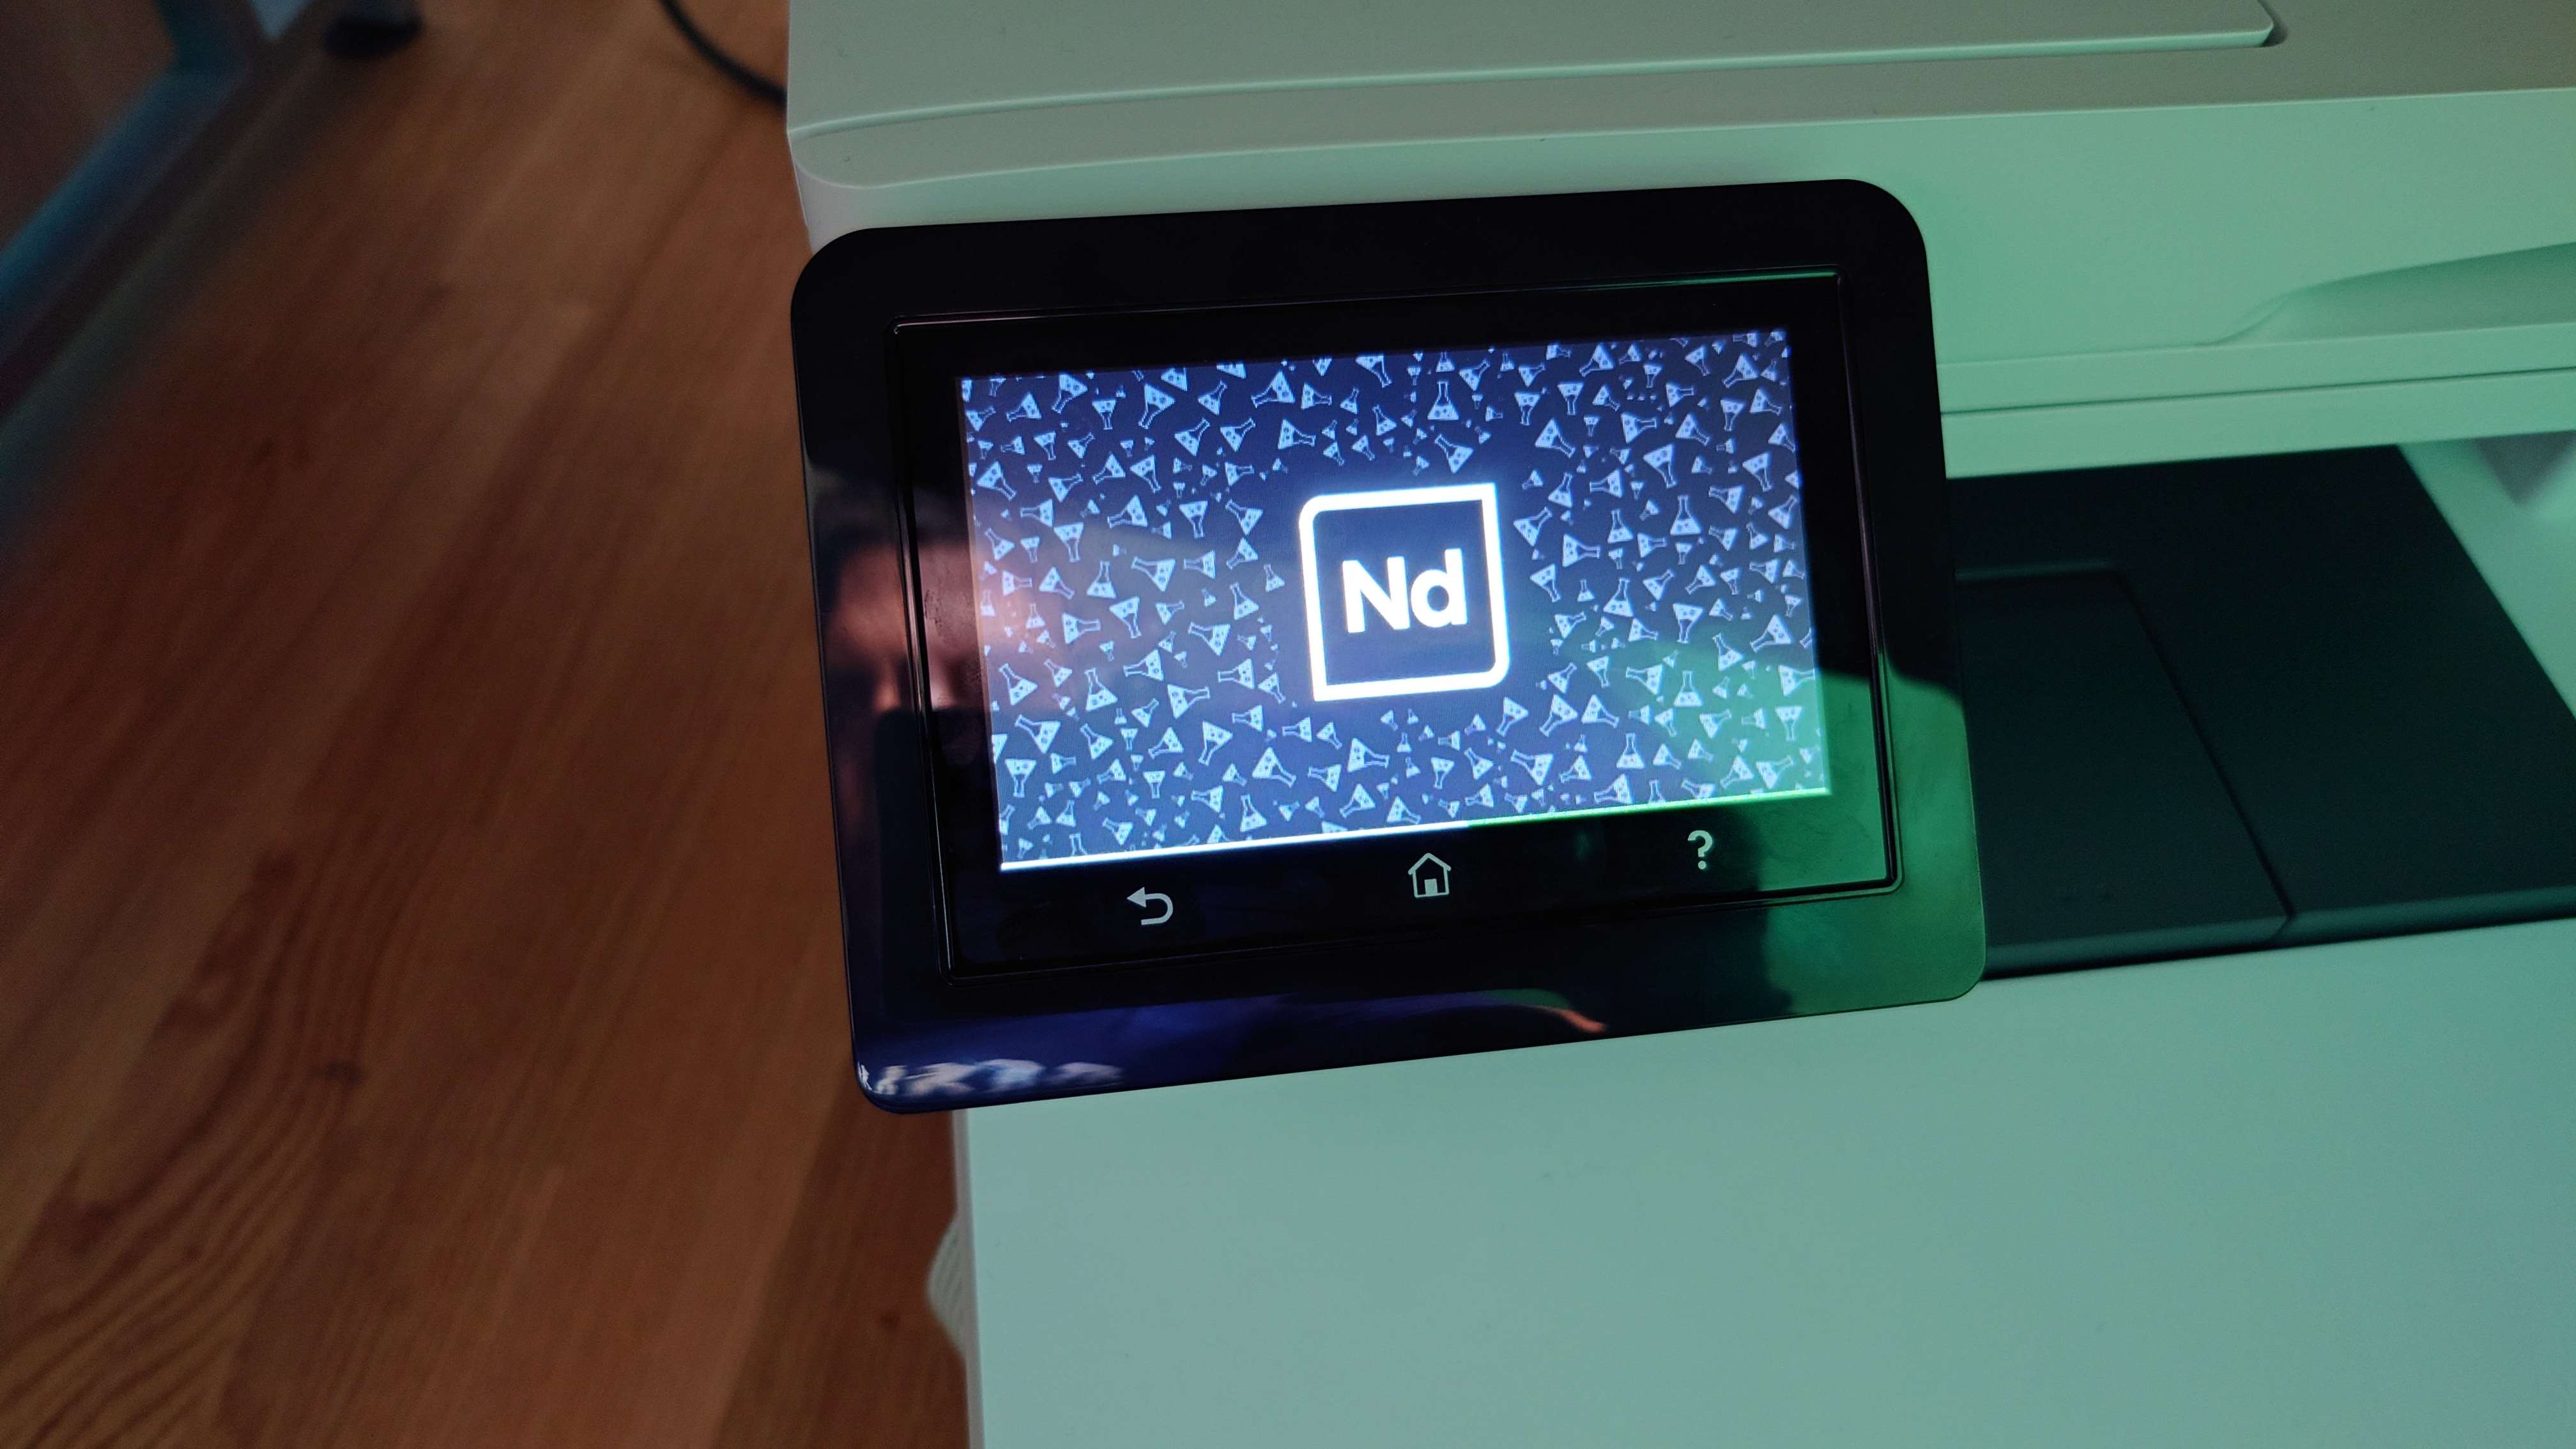
The attempt counts as successful once you got a root shell. However, visuals indicating the device was hacked are welcome (and, to be honest, just really nice!). We decided to show our Neodyme logo on the LCD screen, which we managed by writing a raw image to the /dev/ mapped LCD framebuffer:
while true; do cat /tmp/neodyme_was_here > /dev/fb0 2>/dev/null; done &

Putting our own mark on the printer
We knew that the LCD screen would switch off rather quickly, so we decided to also print our logo on an A4 sheet. For this, we simply sent a PDF document to the exposed web-printing service port 9100 to guarantee the LCD screen to light up.
In a standard Pwn2Own entry, the participant gets three attempts to exploit the device. In the SOHO smashup category, though, you have to be successful in hacking both of the chosen devices within one out of three attempts. On stage, the first attempt already failed when trying to exploit the Netgear router. We will dive into the details of this in the next blog post of this series. Luckily, the second attempt worked flawlessly, and everybody was surprised that the printer actually printed! Check it out in the recap video of our attempt.
Overall, Pwn2Own was an enjoyable experience! The Trend Micro team was fantastic, providing support in every possible way. It was a pleasure to connect with other onsite participants and share our experiences over cocktails at the bar next door. Despite the numerous entries, the organization was impeccable, and we never felt rushed at any point. A big shoutout to ZDI for their efforts!